Submersible Controller Enclosure DIY
Introduction to Submersible Controller Enclosures
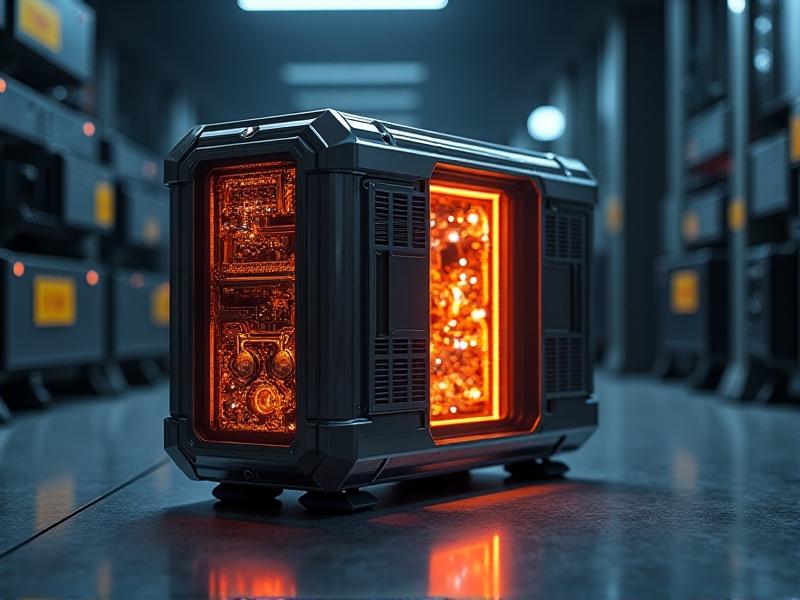
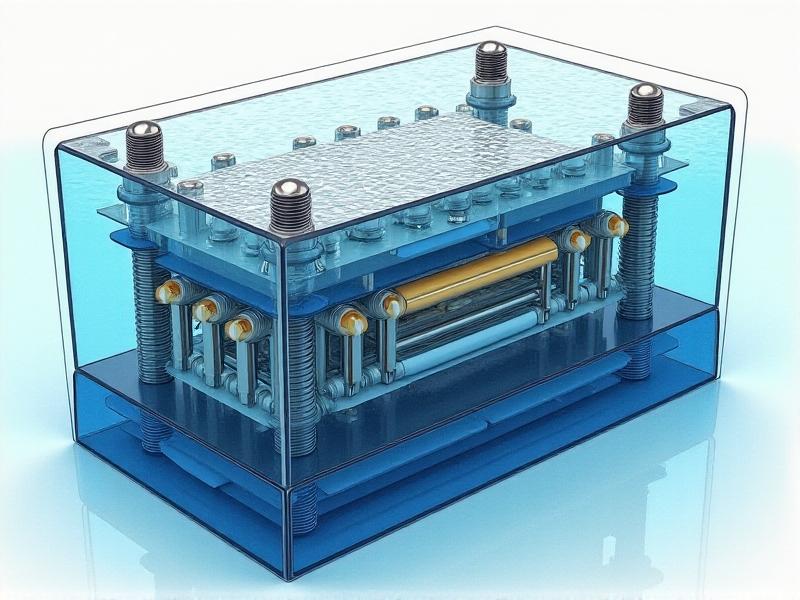
When it comes to underwater exploration or monitoring, having a reliable submersible controller enclosure is crucial. These enclosures protect sensitive electronic components from water, pressure, and other environmental factors. Building your own DIY submersible controller enclosure can be a rewarding project, offering customization and cost savings. This guide will walk you through the essential steps and considerations to create a robust and functional enclosure.

Understanding the Basics of Submersible Enclosures
Before diving into the DIY process, it’s important to understand what makes a submersible enclosure effective. These enclosures must be waterproof, pressure-resistant, and capable of withstanding harsh underwater conditions. Materials like polycarbonate, stainless steel, and aluminum are commonly used due to their durability and corrosion resistance. Additionally, the design must include proper sealing mechanisms, such as O-rings or gaskets, to prevent water ingress.
Choosing the Right Materials
Selecting the appropriate materials is a critical step in building a submersible controller enclosure. Polycarbonate is a popular choice for its transparency and impact resistance, while stainless steel offers superior strength and corrosion resistance. Aluminum is lightweight and easy to machine, making it ideal for custom designs. Consider the specific requirements of your project, such as depth rating and exposure to saltwater, to determine the best material combination.

Designing the Enclosure
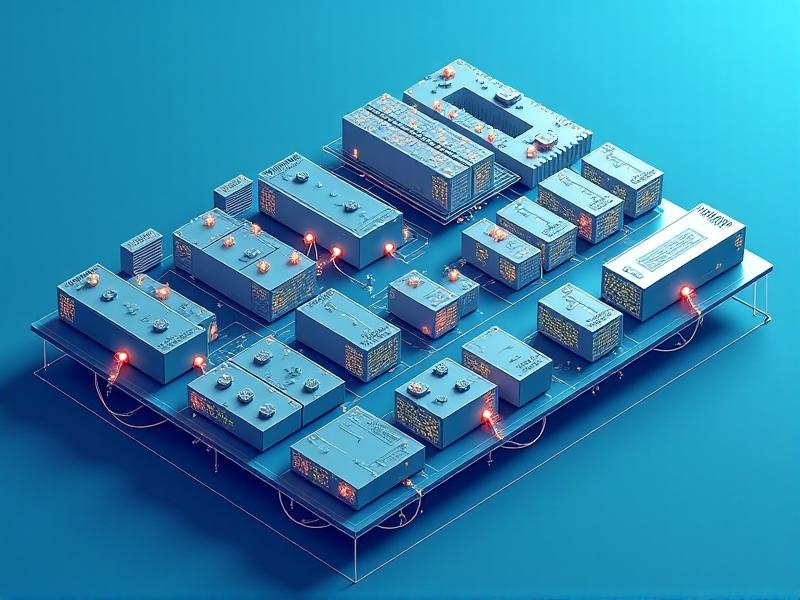
The design phase involves creating a blueprint that accommodates all electronic components while ensuring waterproofing and ease of access. Start by measuring the dimensions of your controller and other components. Plan for cable entry points, ventilation, and mounting hardware. Use CAD software or hand-drawn sketches to visualize the layout. Pay special attention to the placement of seals and gaskets to prevent leaks.
Sealing and Waterproofing Techniques
Effective sealing is the cornerstone of a successful submersible enclosure. Create watertight seals around the lid and cable entry ports of the enclosure using high-quality O-rings or gaskets. Apply silicone sealant to reinforce these seals and fill any gaps. Pressure testing is essential to verify the enclosure’s waterproofing capabilities. Submerge the enclosure in water and check for leaks before deploying it in the field.
Mounting and Securing Components
Once the enclosure is sealed, the next step is to mount and secure the electronic components. Use mounting brackets or adhesive pads to fix the controller and other devices in place. Ensure that all connections are secure and that cables are neatly organized to prevent interference. Consider using strain relief devices at cable entry points to protect against tugging or pulling.
Testing and Validation
Thorough testing is required before using your DIY submersible controller enclosure. Conduct pressure tests to simulate underwater conditions and check for leaks. Test the functionality of the electronic components to ensure they operate correctly within the enclosure. Perform a trial run in a controlled environment, such as a pool or tank, to validate the enclosure’s performance.
Deployment and Maintenance
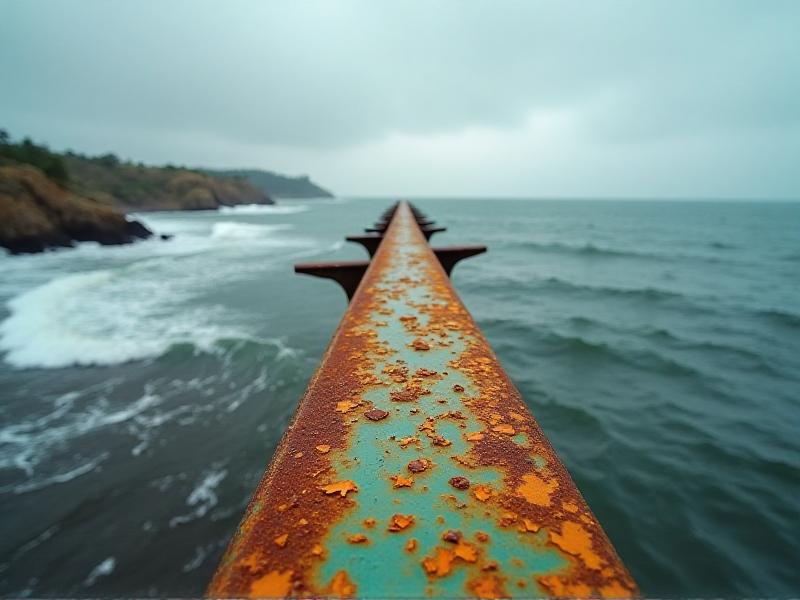
Once your submersible controller enclosure has passed all tests, it’s ready for deployment. Whether your project calls for a freshwater lake, saltwater ocean, or industrial tank, select an appropriate site depending on its needs. Regular maintenance is essential to ensure long-term performance. Check the enclosure for wear, change seals as required, and clean the outside to avoid biofouling or corrosion.
Advanced Customization and Upgrades
Advanced customisation and upgrades are available for individuals wishing to elevate their DIY submersible enclosure. Consider adding features like integrated sensors, wireless communication modules, or additional layers of protection. Experiment with different materials or coatings to enhance durability and performance. The flexibility of a DIY approach allows for continuous improvement and adaptation to new challenges.
Safety Considerations
Safety should always be a top priority when working on submersible projects. Ensure that all materials and components are rated for the intended depth and environment. Follow proper handling procedures for electronic devices and avoid exposing them to water during assembly. Use protective gear when testing or deploying the enclosure, and always work with a partner in case of emergencies.
Final Thoughts on DIY Submersible Controller Enclosures
Building your own submersible controller enclosure is a challenging yet rewarding endeavor. It allows for complete customization, cost savings, and a deeper understanding of underwater technology. By following the steps outlined in this guide, you can create a durable and functional enclosure tailored to your specific needs. Whether for scientific research, industrial applications, or personal projects, a DIY submersible enclosure opens up a world of possibilities beneath the surface.