Vintage Scooter Restoration Paint Codes
The Art of Vintage Scooter Restoration: An Introduction
Restoring a vintage scooter is a trip back in time, not only a pastime. These iconic machines, with their timeless designs and nostalgic charm, have captured the hearts of enthusiasts worldwide. One of the most critical aspects of restoration is ensuring the paintwork matches the original specifications. This is where paint codes come into play. Understanding and sourcing the correct paint codes is essential for achieving an authentic restoration. In this article, we’ll explore the world of vintage scooter restoration paint codes, from their historical significance to practical tips for applying them.

The History of Scooter Paint Codes
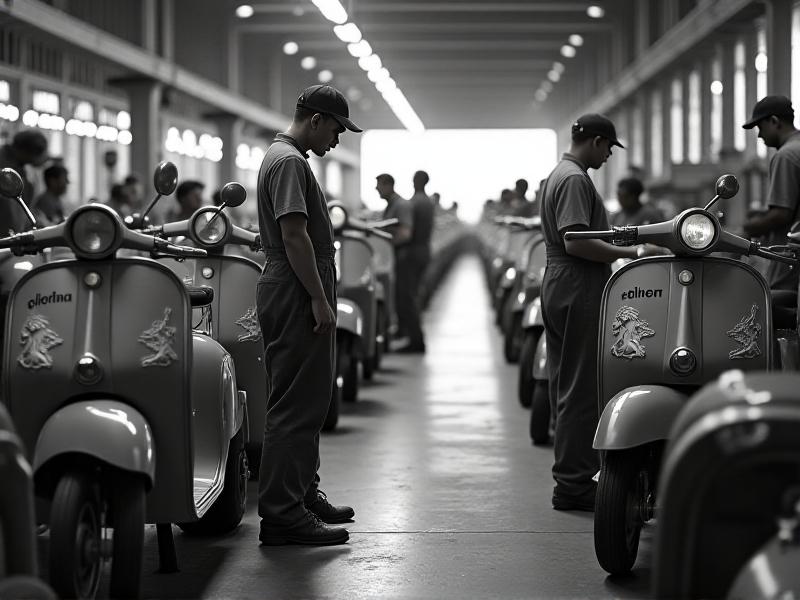
Paint codes have been a part of automotive and scooter manufacturing since the early 20th century. These codes were developed to ensure consistency in color application across different production batches. For vintage scooters, paint codes were often tied to specific models and years, reflecting the design trends of the era. The classic Vespa scooters from the 1950s and 1960s, for instance, had hues still desired today as "Verde Chiaro" (Light Green) and "Bianco" (White). Understanding the history of these codes not only helps in restoration but also provides insight into the cultural and design influences of the time.
Decoding Vintage Scooter Paint Codes
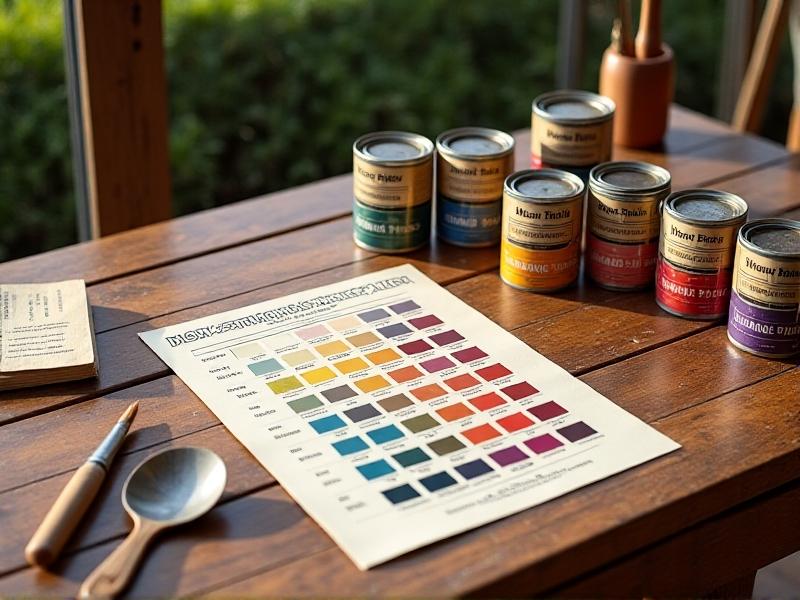
Deciphering vintage scooter paint codes can be a challenging yet rewarding task. These codes are often found in manufacturer manuals, production records, or even on the scooter itself. For instance, Lambretta scooters from the 1960s might have a code like "LBL" for "Light Blue." Modern databases and online communities have made it easier to cross-reference these codes with their corresponding colors. However, it’s essential to verify the accuracy of these codes, as variations can occur due to fading or previous restoration attempts. This part will walk you through the steps of finding and understanding these codes for your repair project.
Choosing the Right Paint for Your Restoration
Once you’ve identified the correct paint code, the next step is selecting the right type of paint. Vintage scooters were often painted with enamel or lacquer, which provided durability and a glossy finish. Modern alternatives, such as urethane-based paints, offer improved longevity and ease of application. However, purists may prefer to stick with traditional methods for authenticity. Factors like environmental conditions, application techniques, and personal preferences will influence your choice. This section will explore the pros and cons of different paint types and provide tips for achieving a flawless finish.
Step-by-Step Guide to Painting Your Vintage Scooter
Painting a vintage scooter is a meticulous process that requires patience and precision. Remove any rust or old paint by first cleaning and sanding the scooter's surface. Apply a primer to ensure the paint adheres properly, followed by multiple coats of the chosen color. Allow each coat to dry completely before applying the next. Finally, finish with a clear coat for added protection and shine. This section will provide a detailed, step-by-step guide to help you achieve professional-quality results, even if you’re a beginner.
Preserving the Authenticity of Your Restoration
While modern techniques and materials can enhance the durability of your restoration, preserving the scooter’s authenticity is equally important. This means paying attention to details like the exact shade of paint, the finish, and even the placement of decals. Researching the scooter’s history and consulting with experts can help you stay true to its original design. This section will discuss the importance of authenticity in vintage scooter restoration and offer tips for maintaining it throughout the process.
Common Challenges in Vintage Scooter Paint Restoration
Restoring the paintwork of a vintage scooter comes with its own set of challenges. Issues like color matching, paint adhesion, and surface preparation can arise, especially with older models. Additionally, sourcing the correct materials and tools can be difficult. This section will address these common challenges and provide practical solutions to help you overcome them. Whether you’re dealing with stubborn rust or struggling to find the right shade, these tips will ensure your restoration stays on track.
Showcasing Your Restored Vintage Scooter
Once your restoration is complete, it’s time to showcase your hard work. Whether you’re displaying your scooter at a classic vehicle show or simply enjoying it on the open road, proper presentation is key. Regular maintenance, such as waxing and polishing, will keep the paintwork looking pristine. This section will offer tips for showcasing your restored vintage scooter and ensuring it remains a source of pride for years to come.